 2008 V-Strom DL650
The MOTO-DUDE DOMAIN
2008 V-Strom DL650
 There
is really no way to describe the emotional feelings that a brand new motorcycle
can evoke. It's really sweet, man. My girlfriend probably summed it up best by
saying getting a new bike gives you that feeling you had as a young man, when
everything was new and most roads were untraveled. Well said, Hanne!
There
is really no way to describe the emotional feelings that a brand new motorcycle
can evoke. It's really sweet, man. My girlfriend probably summed it up best by
saying getting a new bike gives you that feeling you had as a young man, when
everything was new and most roads were untraveled. Well said, Hanne!
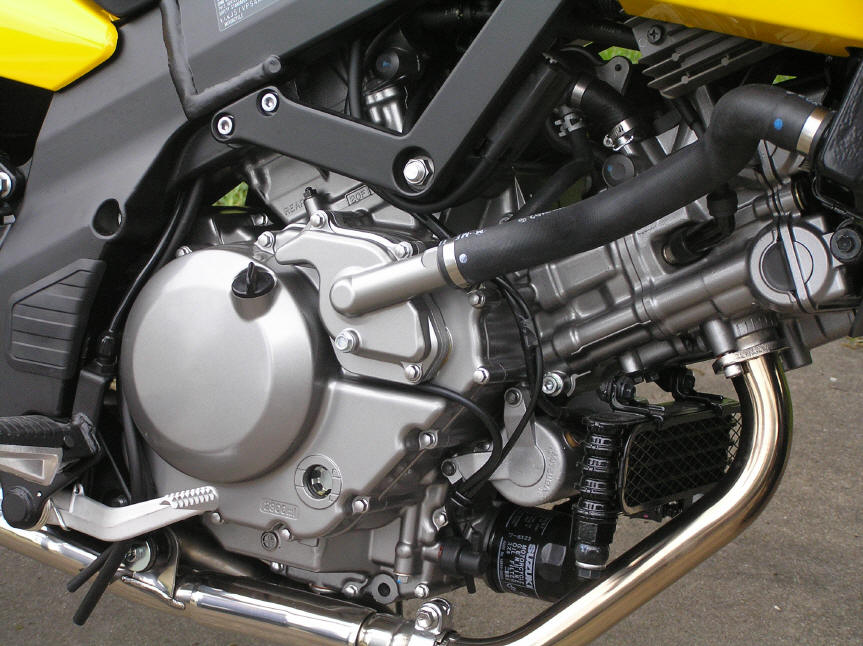
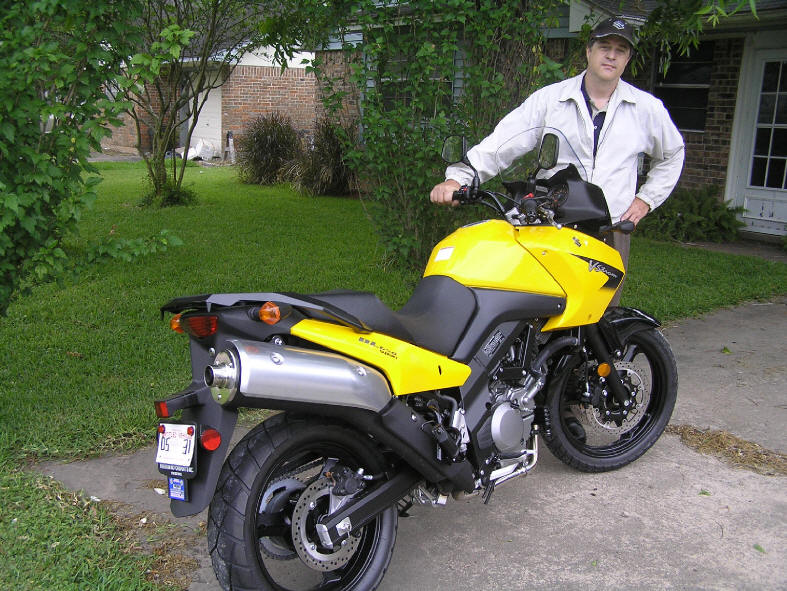
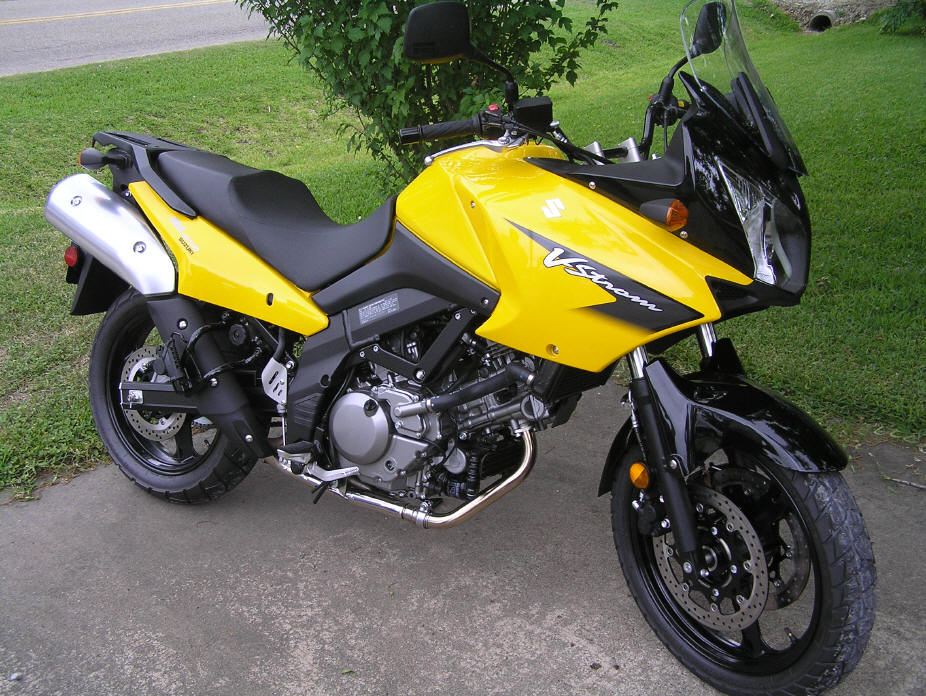
Over the last few years, I have been increasingly aware that I have not bought a new bike since 1992. Raising kids is expensive. The last three years saw me looking at V-Stroms (Strom is the German word for stream or current, as in maelstrom), I even have the brochures from the times I looked at the '05, '06, and '07 models. Finally, I decided that was enough--I probably won't live forever--and bought an '08 V-Strom 650. Great bike! The V-Strom is an "adventure bike", that is, a dual-sport with emphasis on the road elements. But I have taken it off road and she handles fairly well. But I won't be jumping any cars on it!
|
|
|
|
|
|
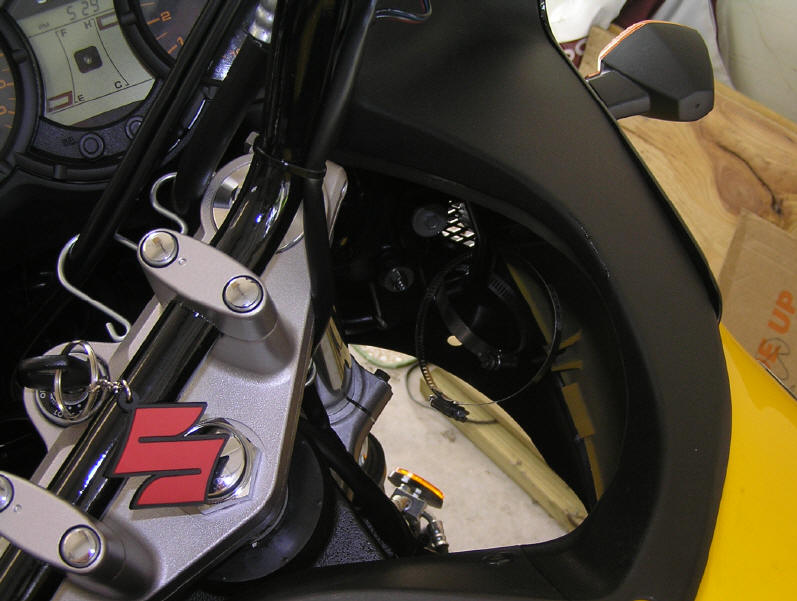
 Moving the frame stickers to where they belong--out of sight. |
|
|
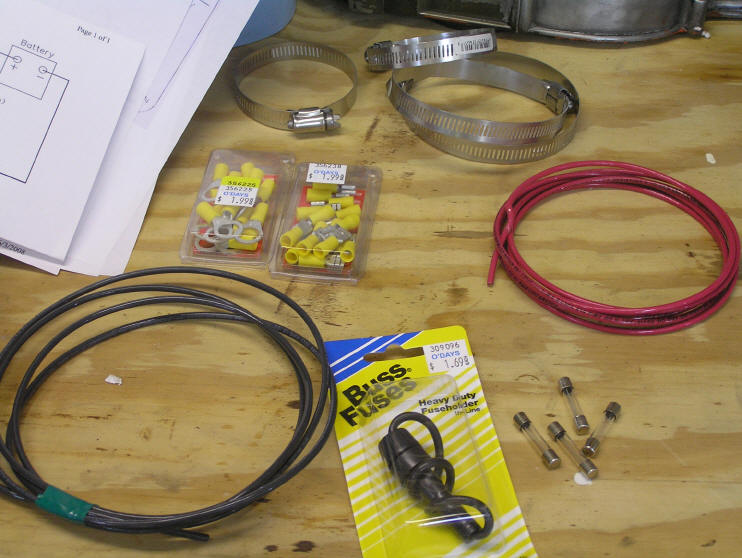
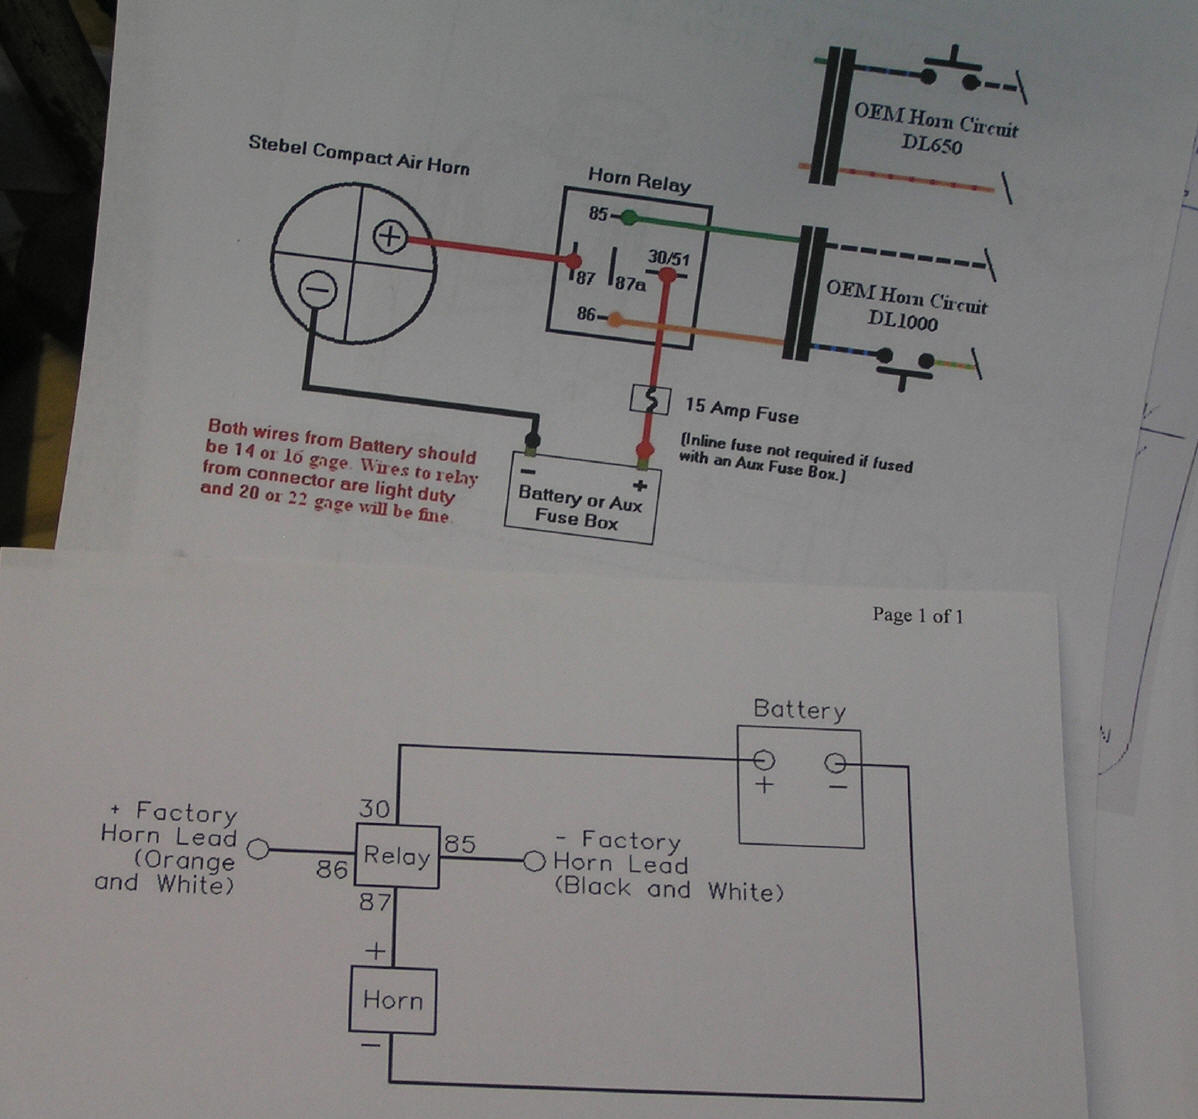  Two wiring diagrams, exactly the same. I used the top one. I cut a couple feet of wire for the horn-to-relay connection and one foot for the horn to ground. You can cut to length after the horn is in place. |
  I looped the hose clamps around the fairing brace on the front right of the bike. You will need a very short screwdriver and it helps to have someone hold the horn still from below. I managed it alone, but it was a tight fit getting my hand in to hold the horn and tighten the clamp. |
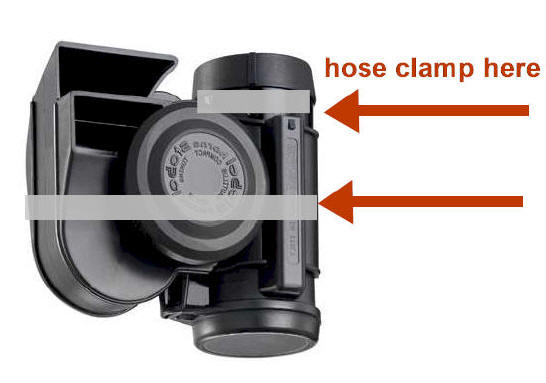 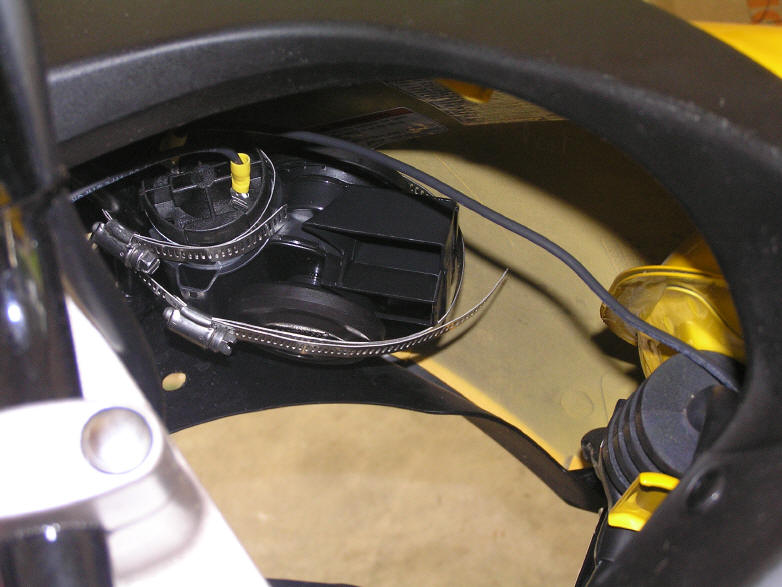 I used the 3 inch clamp to grip the horn around the metal body. This gives a tight, strong fit. The 5 inch clamp went around the whole horn assembly to help keep it from shifting. Tighter the small clamp pretty well, but don't over tighten the 5 inch clamp, just snug, or you could break the plastic horn. |
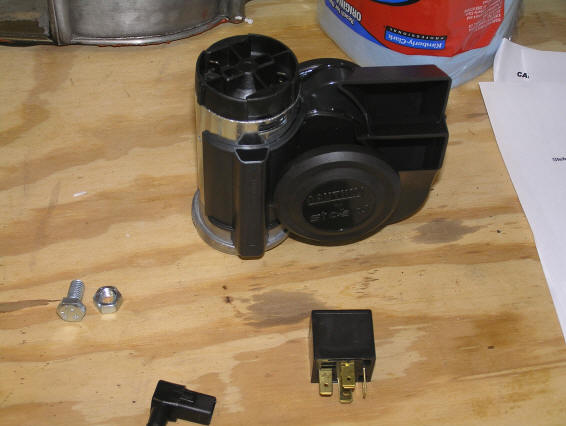
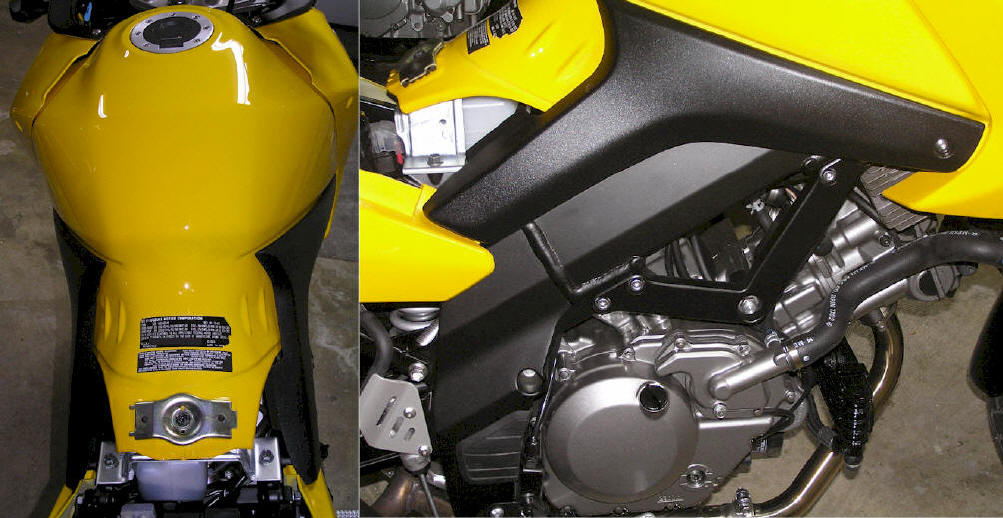
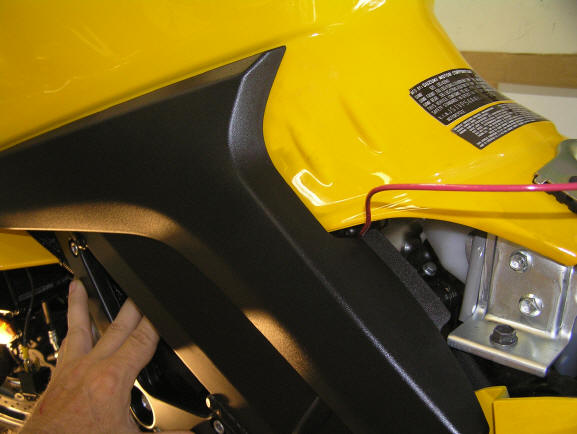
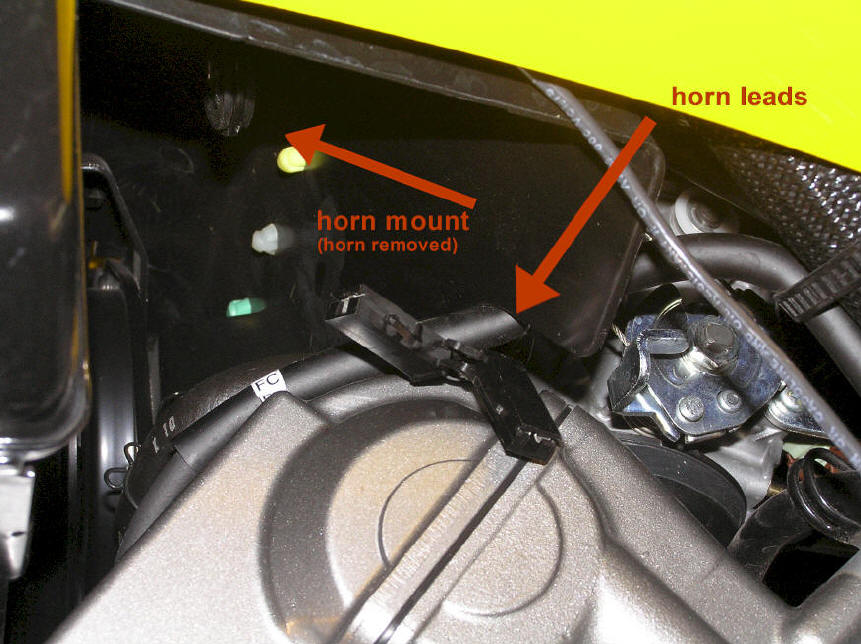  The stock horn is behind the radiator on the left side. If you lay under the bike, you can see and reach it with ease. I removed the stock horn with an 11mm wrench. The two horn leads just pop off. You may want to cut the small plastic bits between the wires to separate them. Next I cut the horn-to-relay wire and crimped a spade onto it. |
 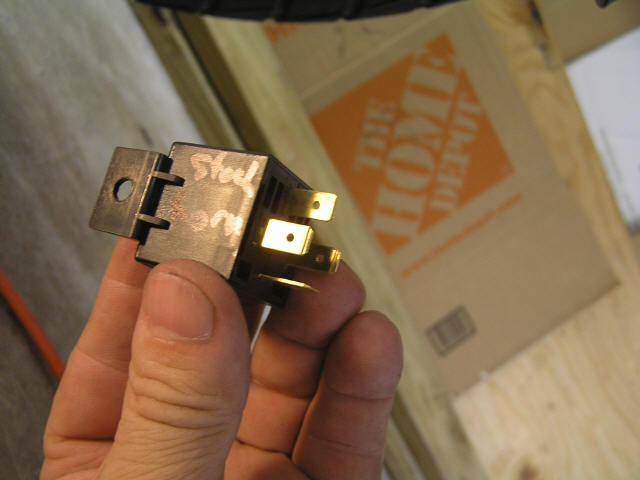  Here's the wiring diagram. I used a Sharpie to ID the relay prongs before hooking it up. One prong is situated differently than the other three--that's the prong for the hot wire from the battery (with inline fuse). The one across from it goes to the Stebel and the other two, just plug in the stock horn wires. |
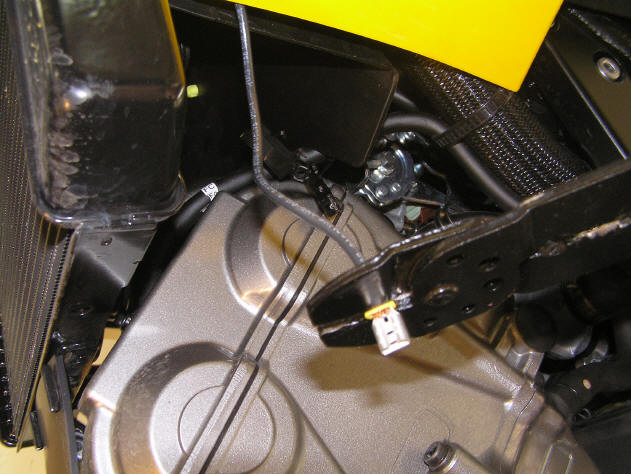
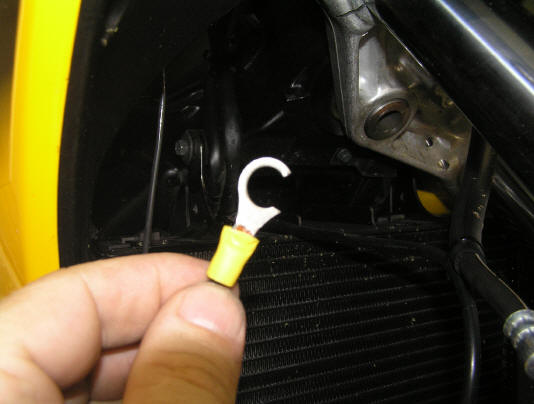
  I was surprised how easy it was to snake a wire from the battery area under tank to the radiator area. I suggest using a black wire--I used red for a "hot" wire but black would be better, it won't stand out so much. |
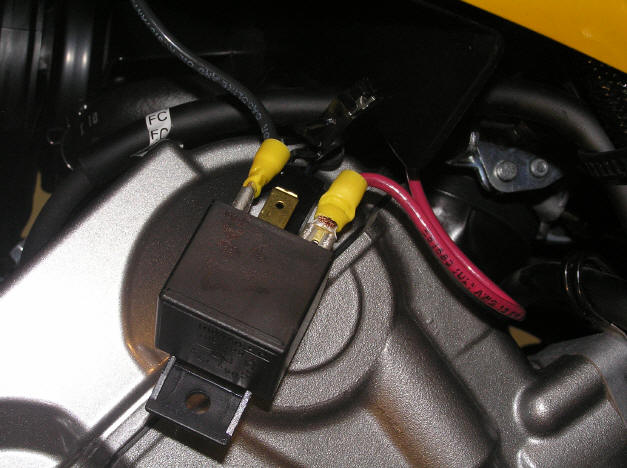 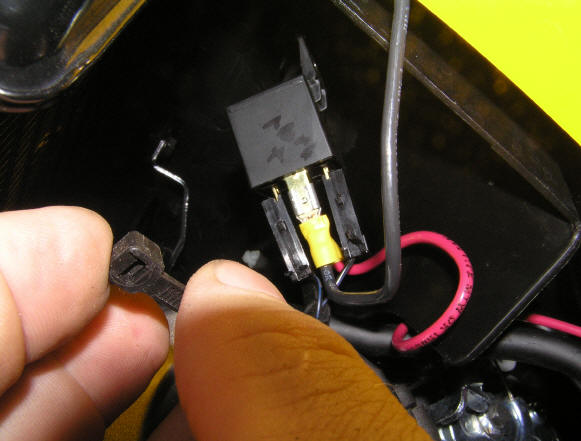 Ok, you plug in the two stock horn wires, the wire going to the Stebel, the hot wire (with inline fuse) from the battery, and take small zip tie to secure the relay on the stock horn bracket. |
 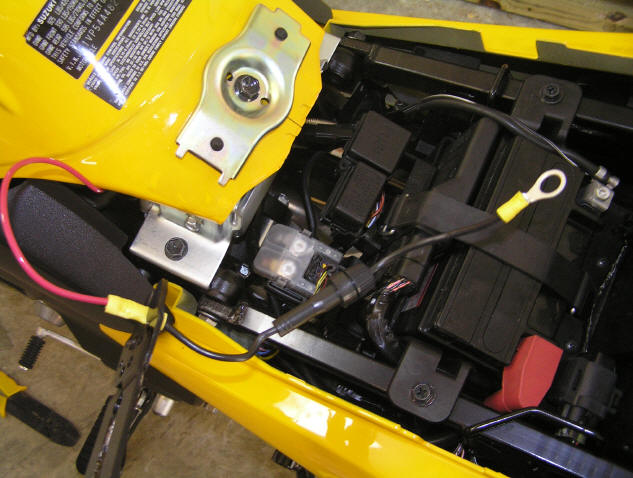 Relay secured, connect the hot wire to the battery. I was very careful when removing the positive battery screw not to disconnect the main battery lead--I didn't want the clock to reset. |
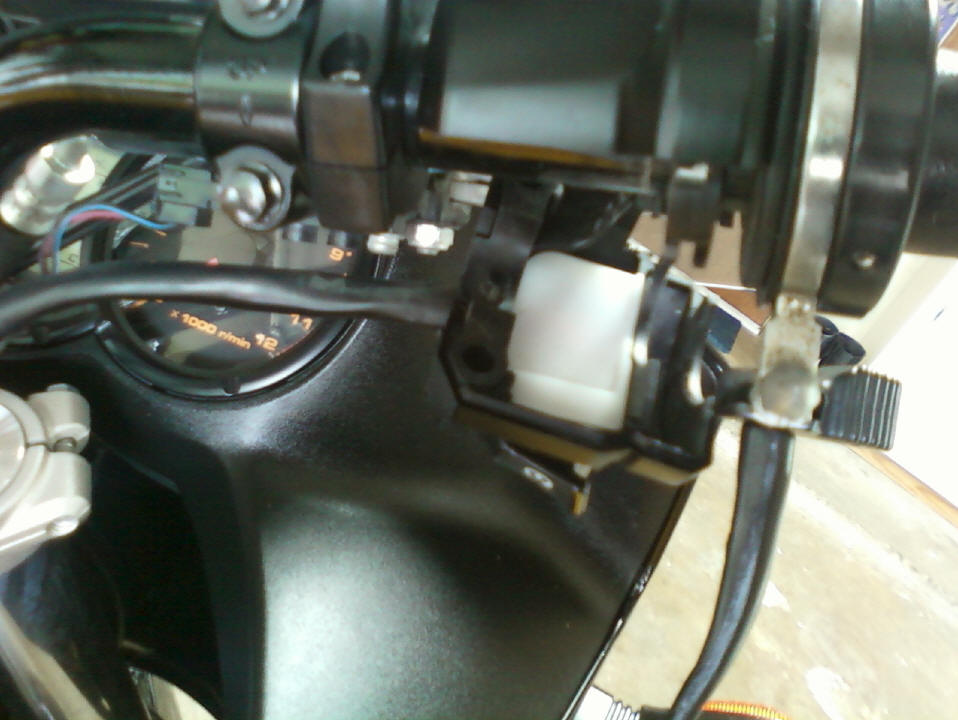
 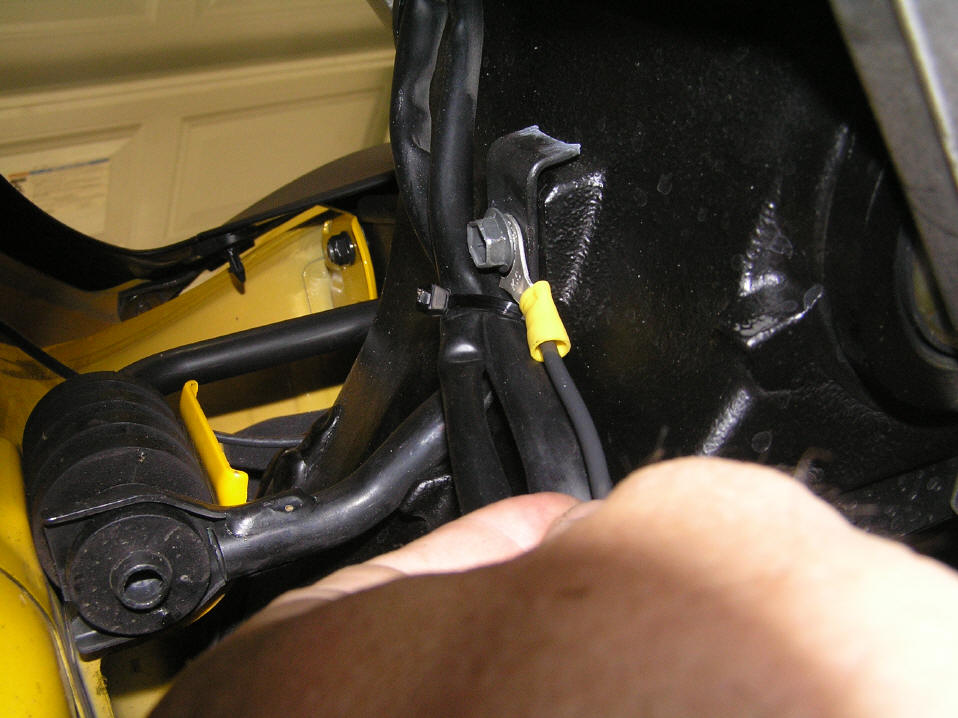 Back to the right side, looking up under the fairing below the Stebel. Nipped a connector, loosened a bolt to the frame, and connect the ground wire from the horn. |
You can get the Stebel horn here. |
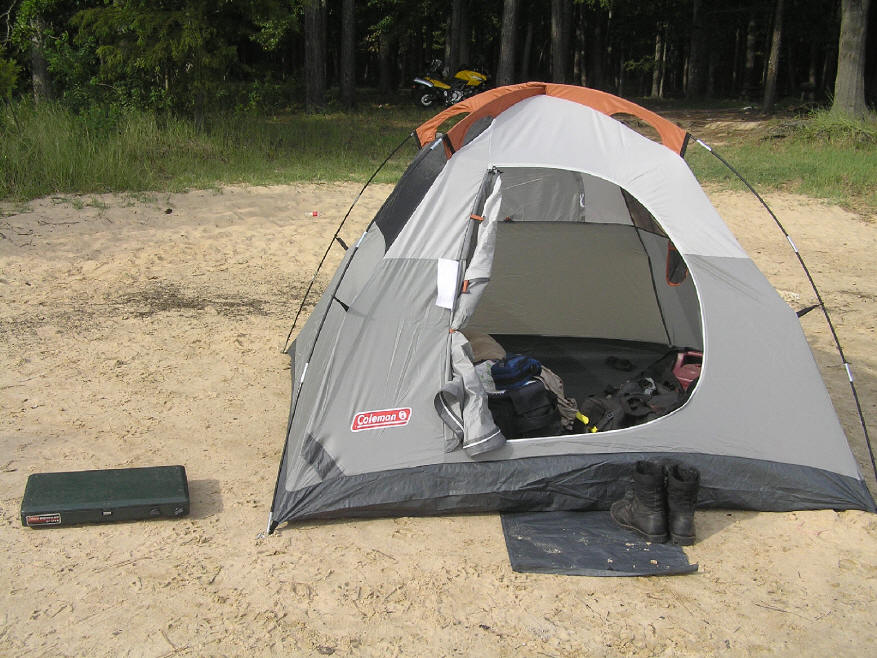
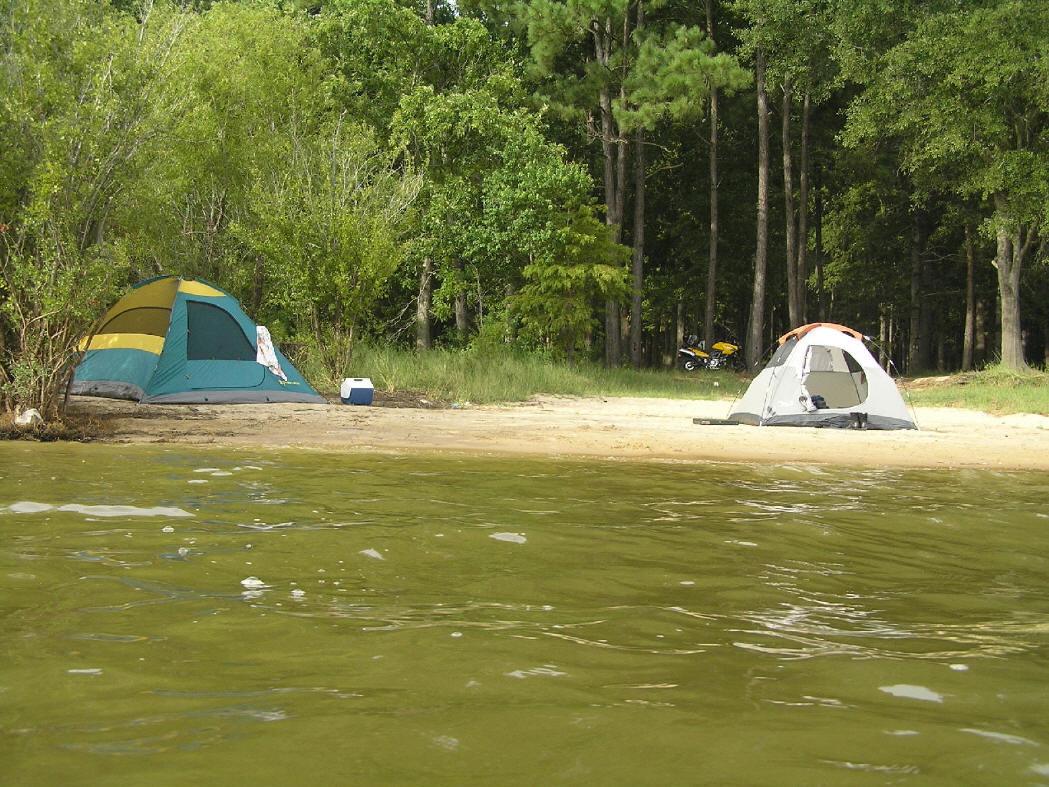
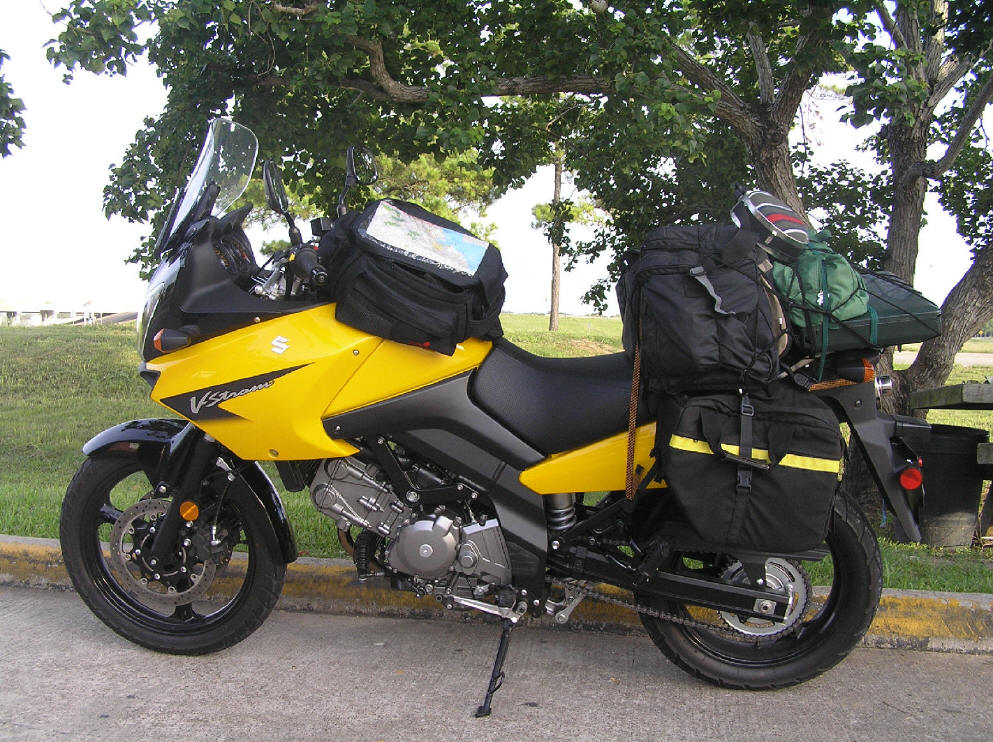
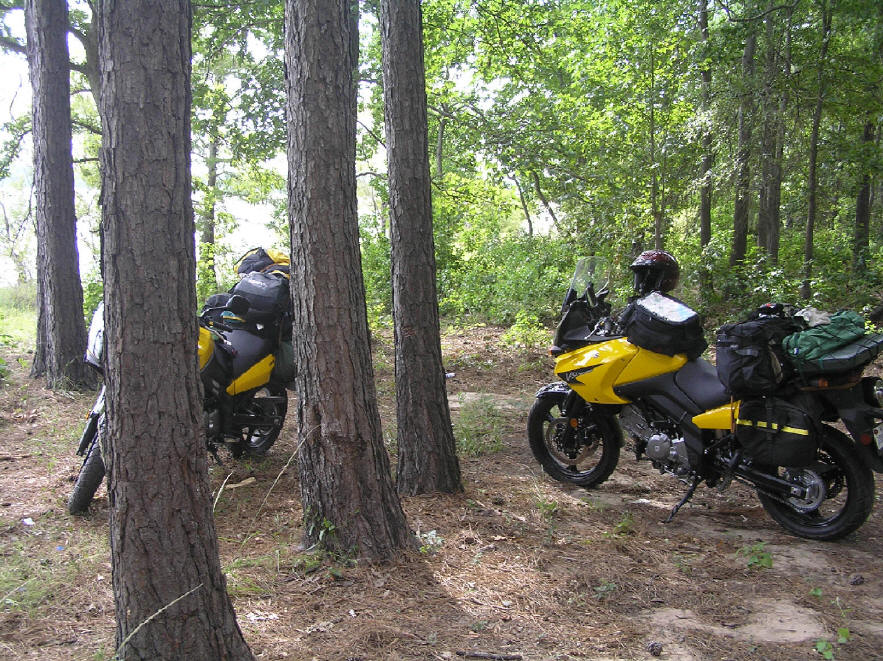
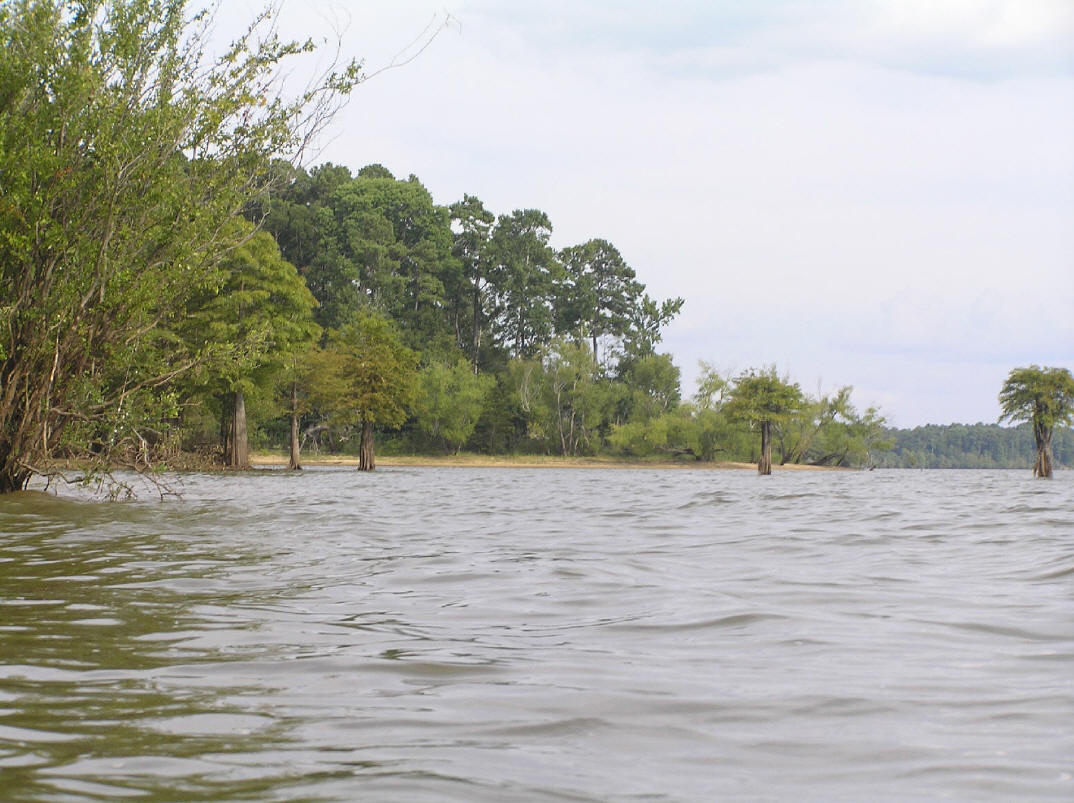
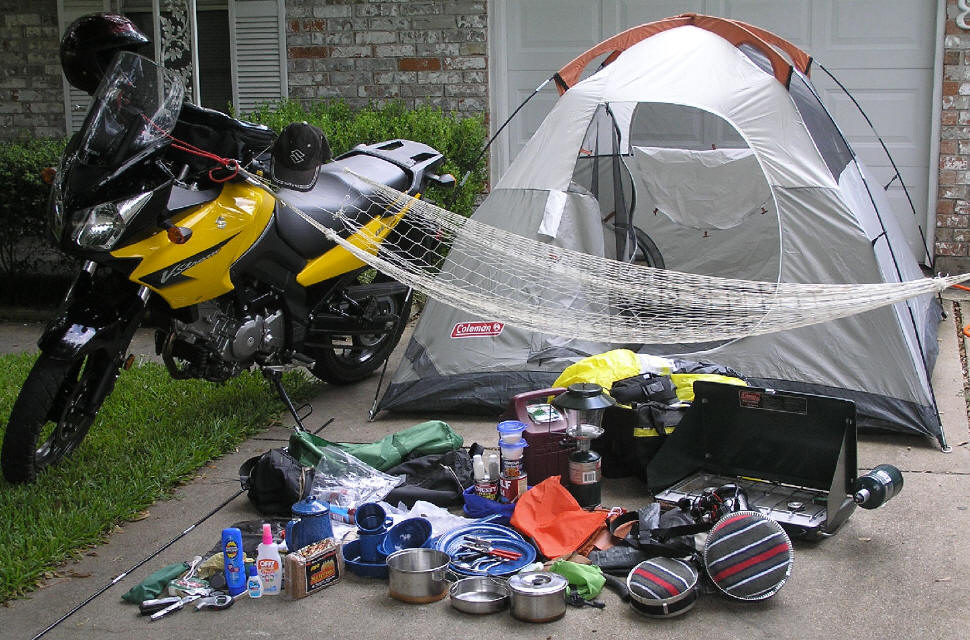
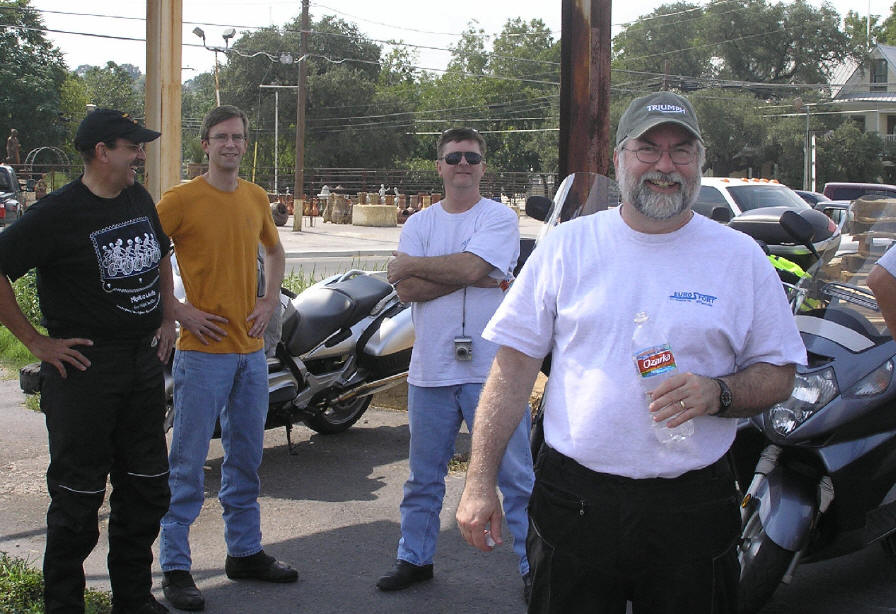
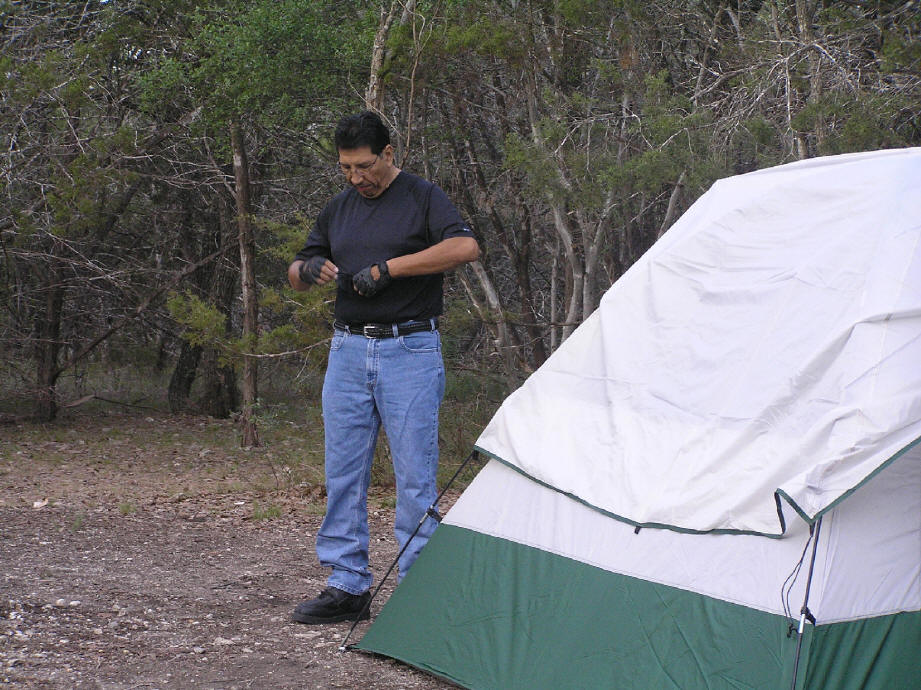
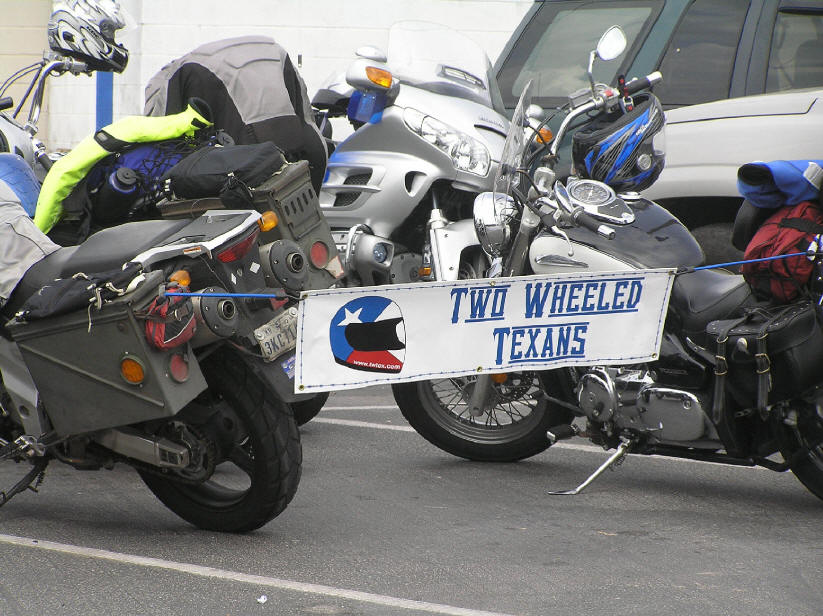
Camping in East Texas
|
|
  |
  |
  |
 |
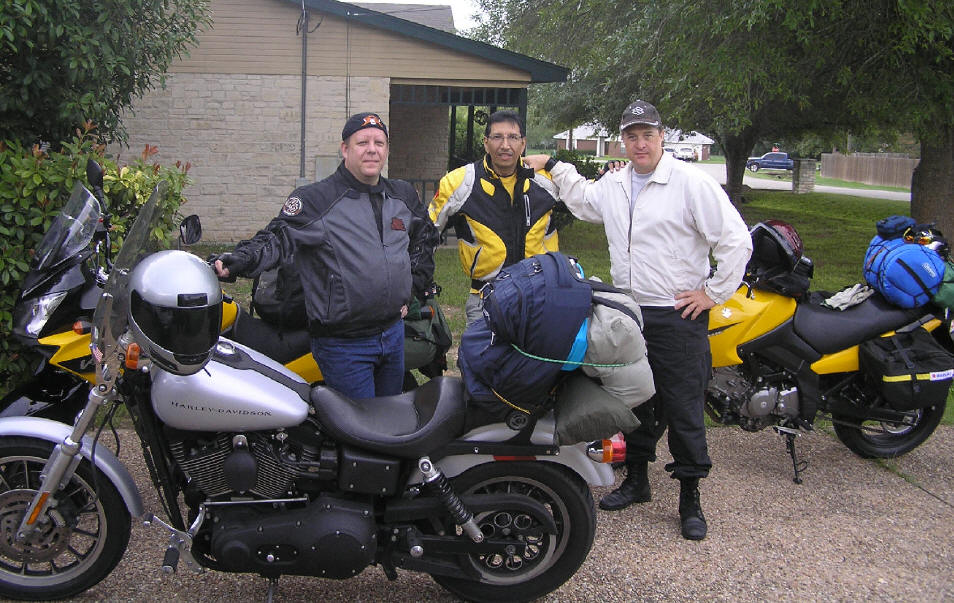
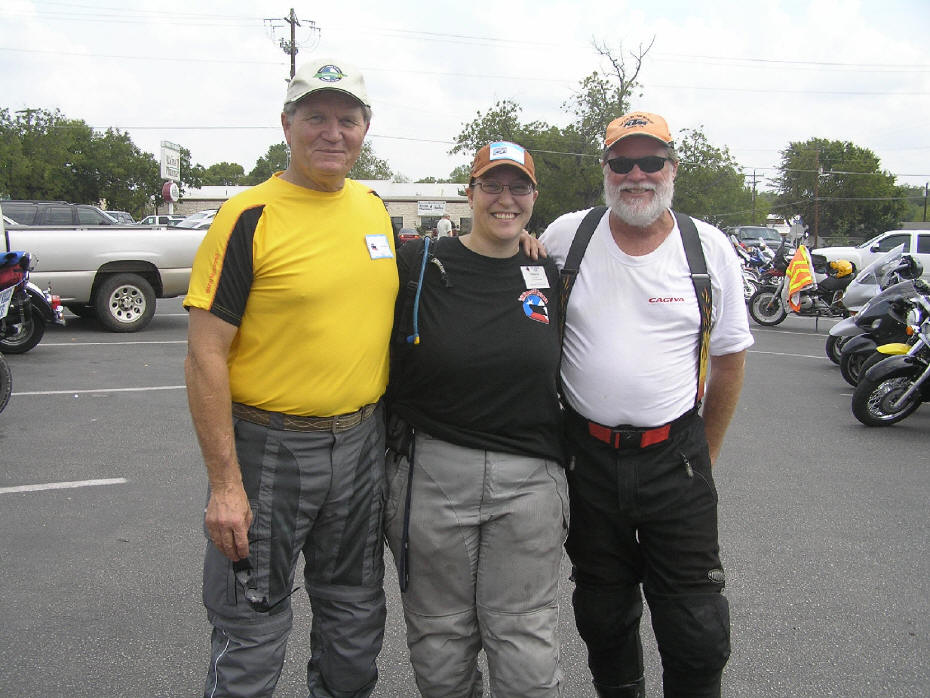
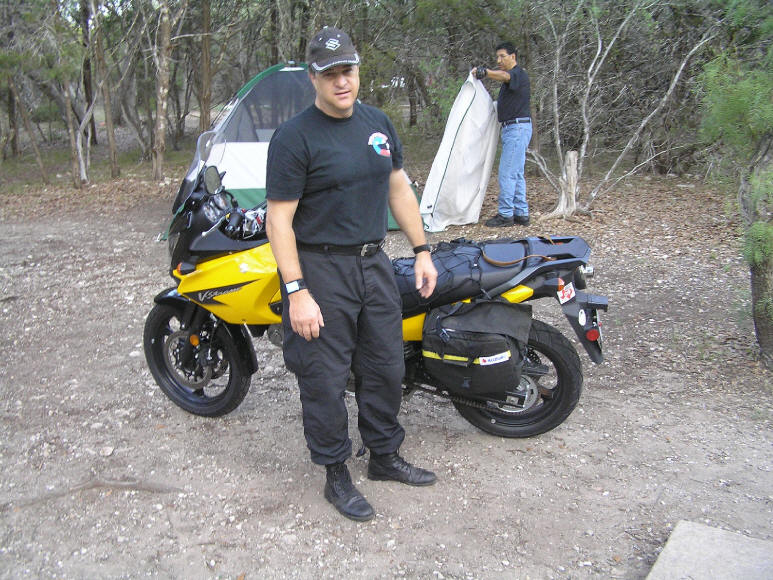
Pedernales State Park, Marble Falls Pie Run
|
|
  |
  |
  |
  |
  |
  |
 |
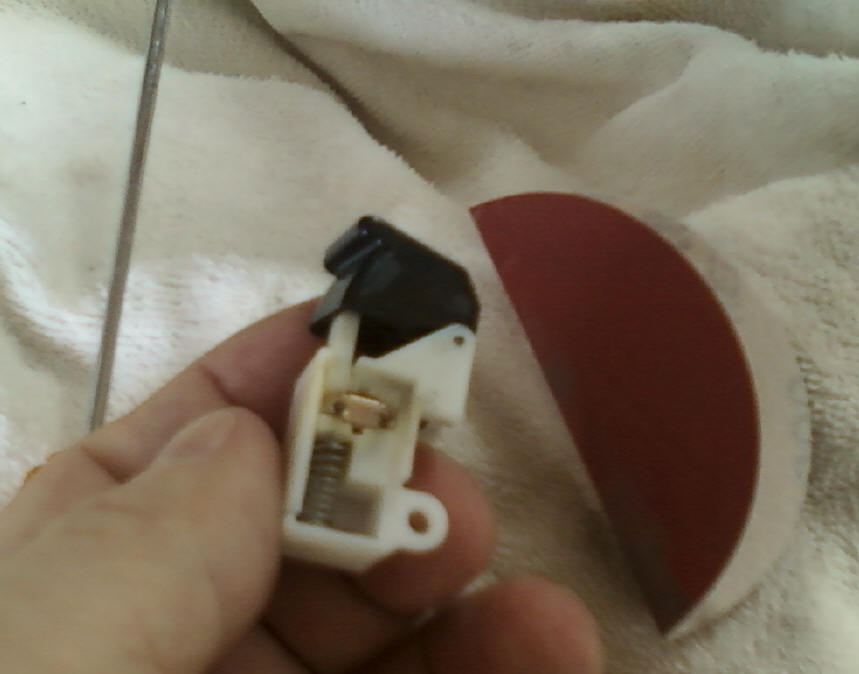
Cleaning and adjusting the starter switch
For a while the bike would not start every time I pressed the starter switch button. I took it apart and cleaned/sanded the contacts and adjusted it by giving the
switch contacts a tweak.
|
|
 Remove the rubber spacer/seal thing |
 Put it somewhere you won't lose it. |
 White plastic cover comes off |
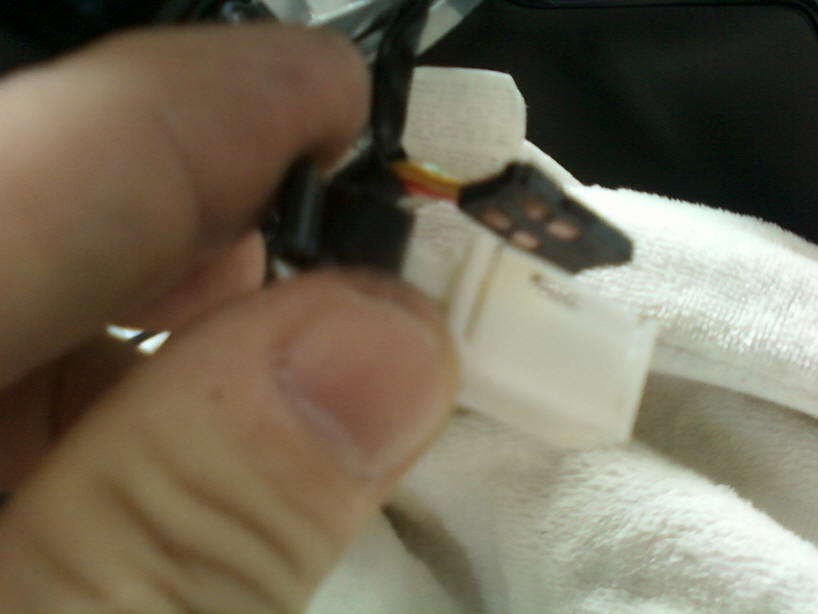
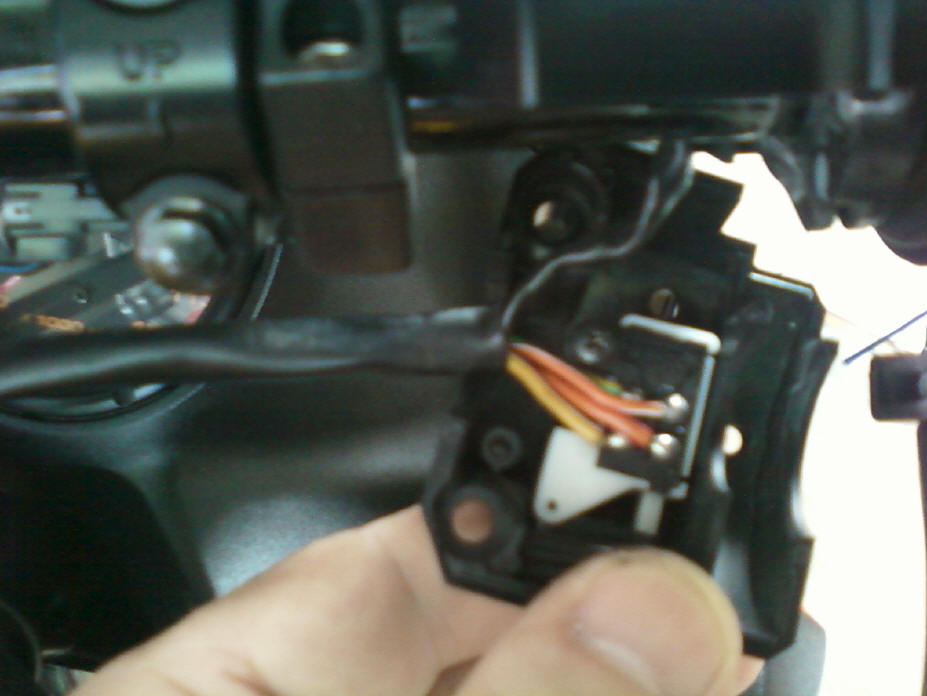 the switch comes out |
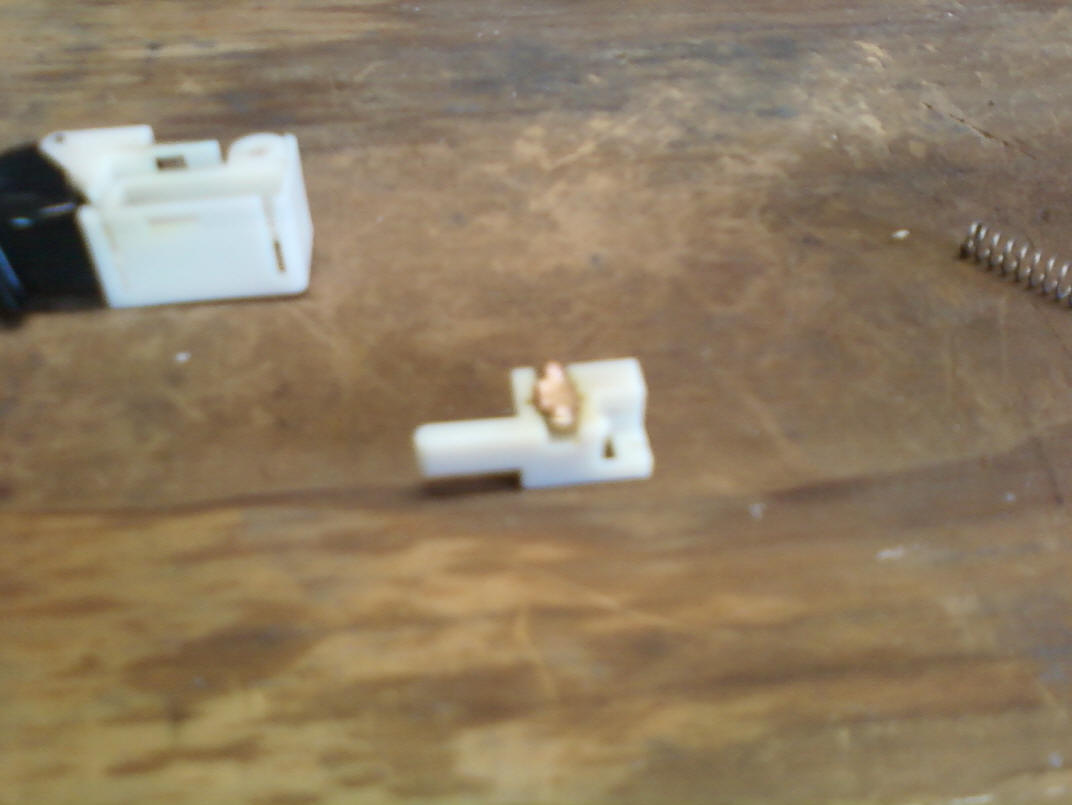
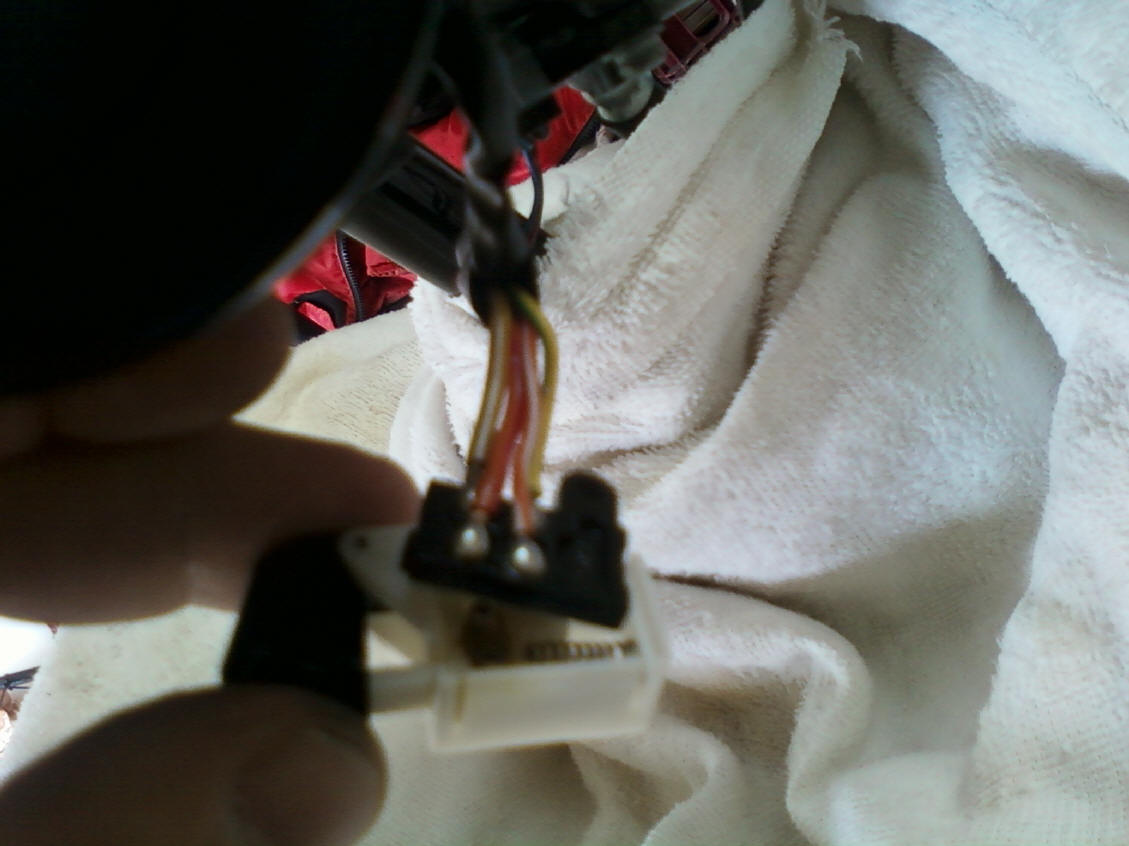 Switch comes apart |
 |
 Sanding the contacts |
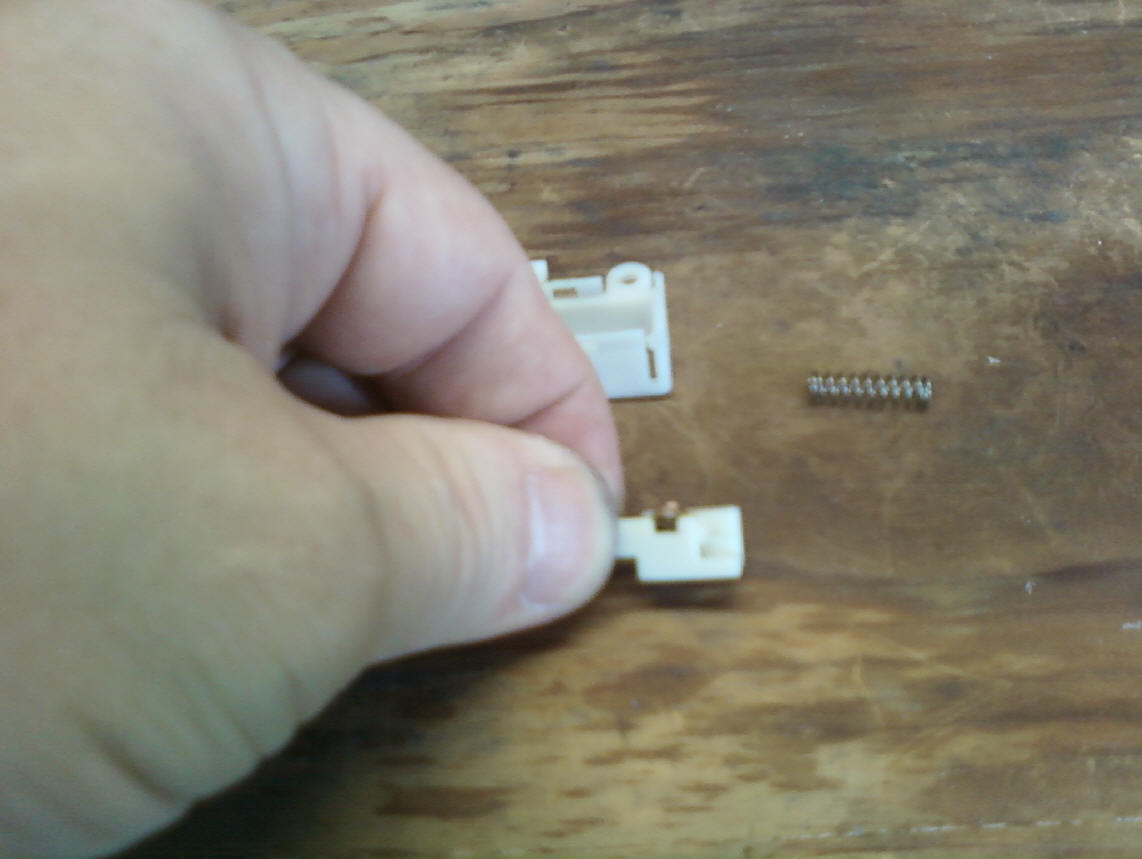
 Check the spring and contacts, make sure they are making a positive connection. I gave the spring and plate some adjustment. |
 You can't really see it from this blurry pic, but these contacts are sort of like a very flat V... like this
|
...like this |
Using a tiny screwdriver, the one I use when I operate on my cousin's pacemaker, I prized the edges of the contacts up a bit.
14.2 degree up to be exact... (joking) |
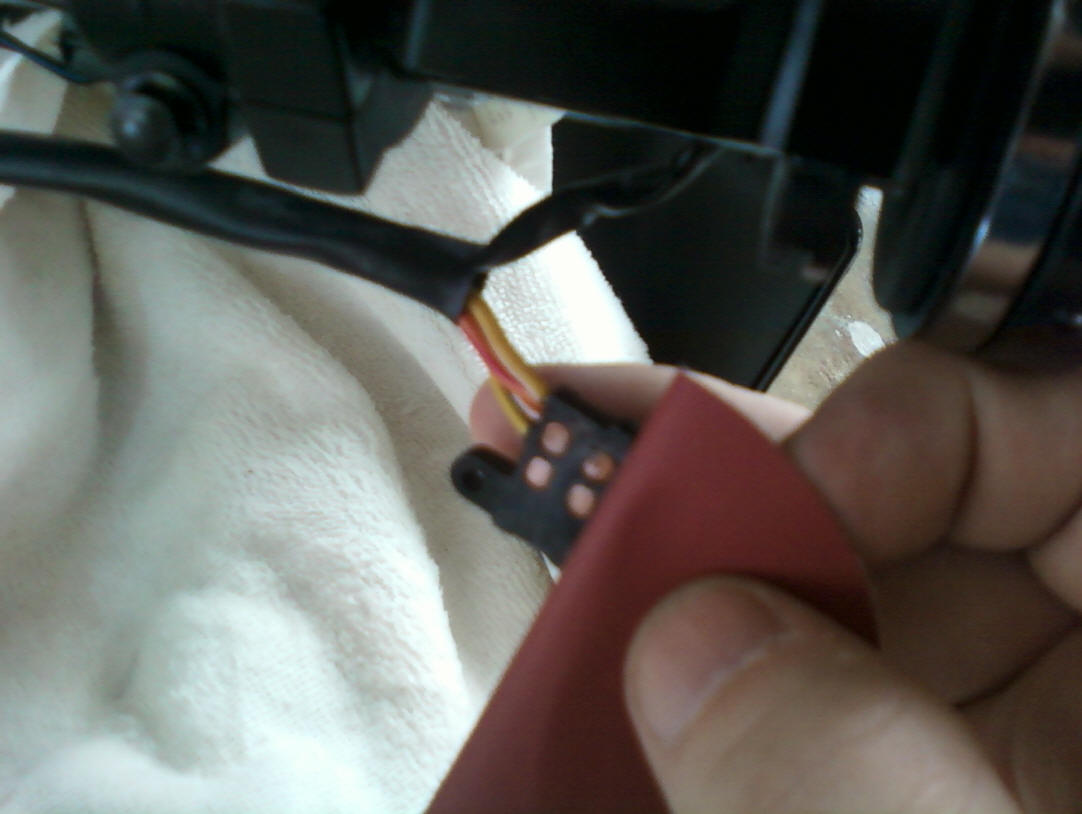
 |
 Put it all back together and for 2 years and 28,000 miles no problems starting! |
Colored wiring diagram courtesy of www.vstrom.info
Return to The MOTO-DUDE DOMAIN
Last revved up: 07/17/2012